guides/guidelines-moulds
Mould Library Guidelines
By sharing a mould project you’re contributing to develop the largest, decentralised, open source library of recycling machines. Big up on that 🤙
When it comes to mould projects, the most important thing is to provide a complete download file with all the necessary files to replicate the moulds. We understand that most of the work for your project will go in designing your product and documenting it thoroughly, so short 3-4 steps will be enough! If you want to add more steps for giving some tips and tricks regarding the mould manufacturing process it’s very valuable.
For the mould files, here’s what to remember:
Download files
- Including the original format for 3D files is good but should always come together with a STEP file so that people can open it in different 3D Modelling softwares.
- For laser cut files, .DXF generally works best and if there’s any engraving, make sure to include that information in your steps.
- Bill of materials (if needed) is best in PDF or excel format.
- Bundle all your files into one .zip file. Or a public link to make it easier to share around. :)
- Make sure they describe the content you are providing so that you can check if that what’s in the zip file. For example: In this folder you will find: 1. 3D CAD (.step and .f3d) 2. Laser cut files (.dxf) 3. Blueprints (.pdf) 4. Schematics 5. BOM
Steps structure
Project title: “_____ Mould”
Just the name of what it is, keep it simple.
Intro/banner
Text:
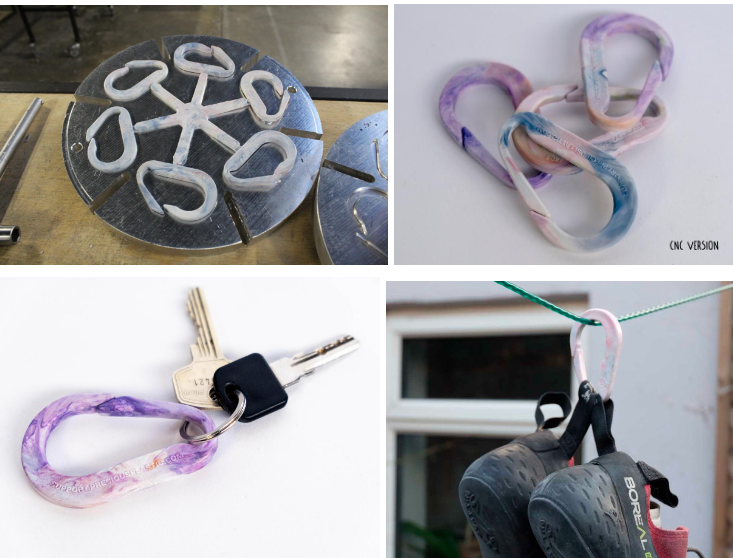
Explain what product is it and what it is for Add any other important or interesting information about the product/mould.
Cover picture:
The best is to show the mould next to the final product, so people can easily recognize what they can make with it.
Step 1 - Title: Download:
Text:
- Tell people to make sure the mould design and size is compatible with their machine capacity.
- Recommended Plastic type (it can be more than 1)
- Explain what machine is suitable to use this mould and any specific requirement if applicable (For ex. This mould is suitable for injection machines, ideally arbour-powered machines that can reach at least 75 bars but not more than 100 bars - Using a machine that can go over 100 bars can cause the mould to break).
- Tell people to decide if they want to customise it according to their needs or not, since now is the moment to do so (Like adding engraving, reducing or increasing the amount of cavities, etc.) But, always keeping in mind the capacity of their machine!
Step picture:
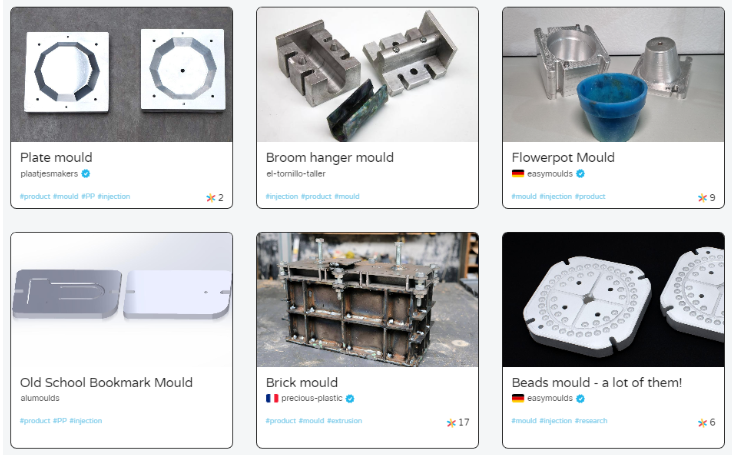
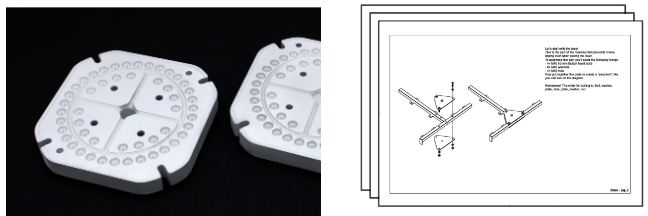
Can be a render, screenshot of the 3D model or blueprint (basically what people will find in the download zip):
Step 2 - Title: Manufacture:
Text:
- Now they should prepare to manufacture the mould. They can do this step themselves if they have their own CNC Machine, laser cutter or metal working tools, otherwise they can always contact their local manufacturer..
- Explain the important requirements the manufacturer needs to know before making this mould, such as: Machine/s, material, tooling, surface finish, nozzle type, fixing dimensions, etc.
- If you have any tips & tricks related to the manufacturing or use of this mould to share, now is the time! You can recommend add-ons to the mould (like ejecting pins), ways to demould the product easier, or ways to improve the surface finish of the mould and therefore the product, etc.
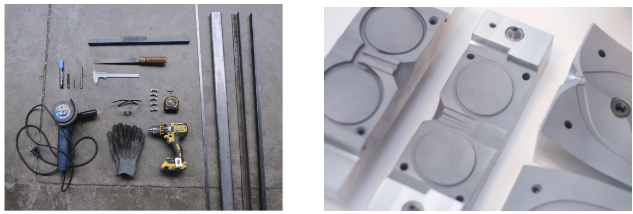
Step picture (if applicable):
Tools and materials needed layed out or close up to manufactured mould (not a render)
Step 3 - Title: Inject! / Extrude! / Press! (Depending for what machine is the mould for):
Text:
- Test the mould with the corresponding plastic type for that product
- Explore the possible applications and colour combinations
- Include any recommendations regarding the injection/ extrusion/ pressing into this mould if necessary (Like preheating, oiling, adding inserts, in the mould).
- If you have this mould or product available for sale, make sure to add the Bazar link!
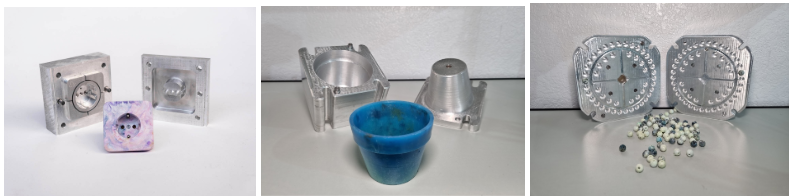
Step picture:
Mould open after injecting, finished product and/or different applications of the same product